Construction Dust Cleaning Checklist After a Renovation

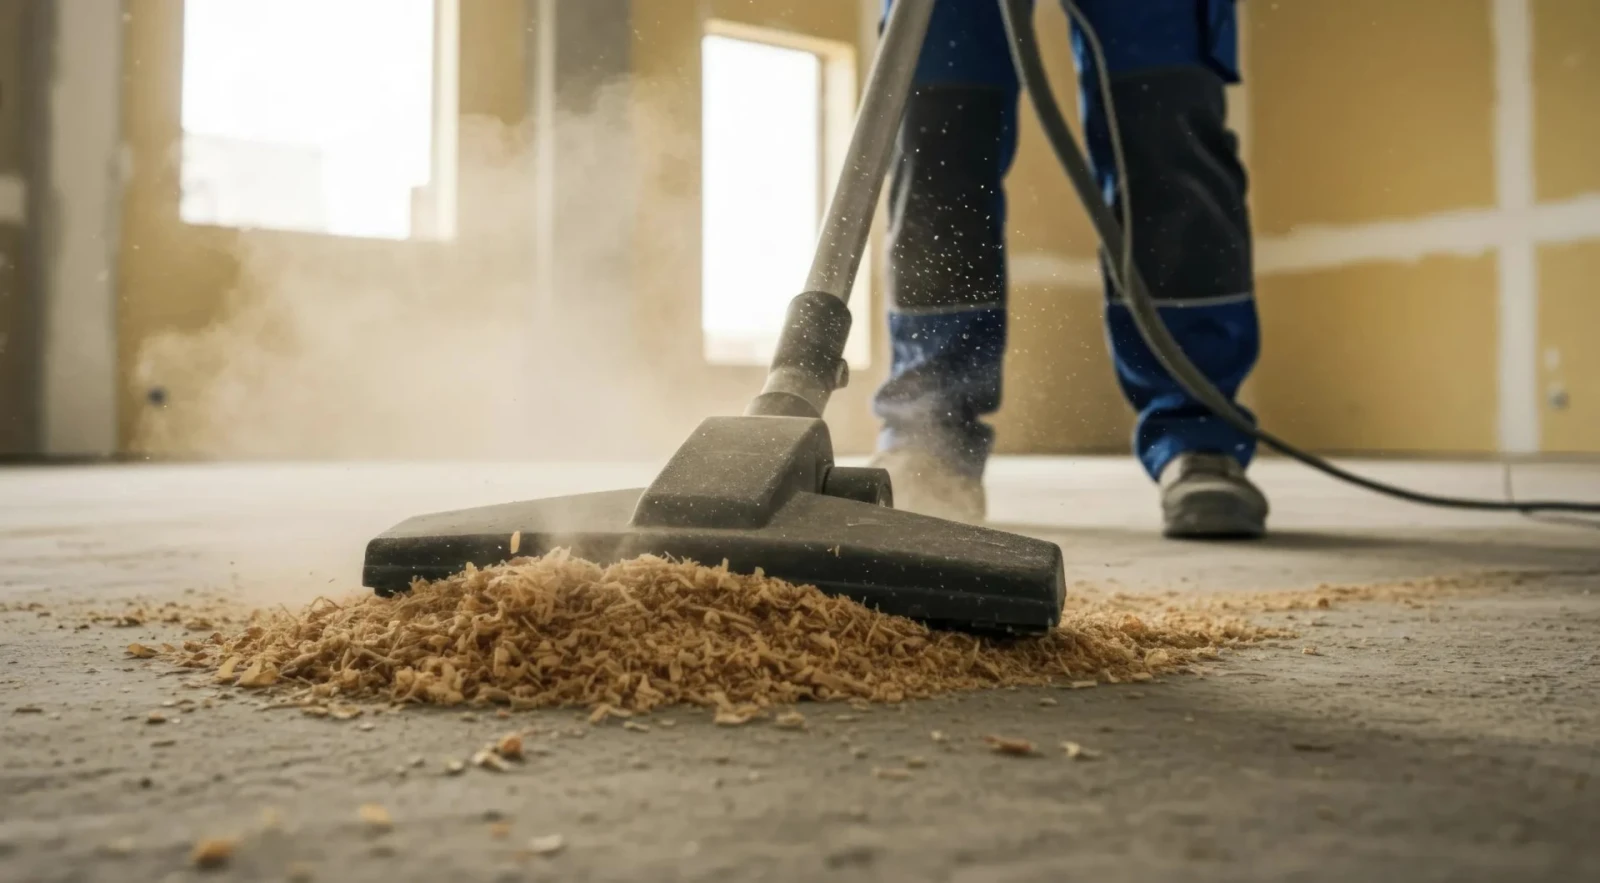
Construction dust cleaning is the last big job of any renovation, and it's the one most people underestimate. The new floors are down and the paint is dry, but a fine gray layer sits on every ledge, inside every drawer and along every window track. Wipe it once and it's back by morning.
This checklist walks you through a post-renovation clean step by step, in the order that actually works. Use it to tackle a small project yourself, or to check that a professional final clean covered everything.
Wait Until the Dust-Making Work Is Done
The biggest mistake is cleaning too early. If the trades are still sanding, cutting or drilling, you'll end up doing the job twice. Wait until all the dust-producing work is finished before you start the detailed clean.
If the project is still in progress and you just need the site workable, that's what a rough clean is for: debris cleared and heavy dust removed so the next stage can start.
Gather the Right Tools
Construction dust is finer than household dust, so the tools matter:
- ✓A vacuum with a brush attachment and a crevice tool
- ✓Plenty of microfiber cloths, swapped out often
- ✓A bucket of clean water and a mild cleaner
- ✓A non-scratch scrubber for residue
- ✓A step stool for high surfaces you can reach safely
- ✓Trash bags for light debris
The Top-to-Bottom Order
Always clean from the top down, so dust that falls is picked up on the way. Finish with the floors. Here's the order to follow in each room:
- High surfaces first. Safely reachable ceilings, tops of door frames, light fixtures and high ledges.
- Walls and trim. Dust off walls, then wipe trim, baseboards and window casings.
- Windows. Frames, sills and tracks, then the glass.
- Cabinets and drawers. Outside first, then inside once they're empty.
- Fixtures. Kitchen and bathroom fixtures cleaned and detailed.
- Floors last. Vacuum first to lift the fine dust, then mop, edges included.
Room-by-Room Checklist
Kitchen
- ✓Cabinet fronts, then interiors once empty
- ✓Counters and backsplash
- ✓Sink and faucet detailed
- ✓Appliance exteriors wiped of dust
- ✓Floors vacuumed and mopped into the corners
Bathrooms
- ✓Fixtures, faucets and mirrors
- ✓Tub, shower and tile
- ✓Vanity inside and out
- ✓Floors and edges
Bedrooms and Living Areas
- ✓Ledges, trim and baseboards
- ✓Window frames, sills and tracks
- ✓Closet shelves
- ✓Floors and edges
Tackling Paint, Stickers and Adhesive
Paint flecks on windows, stickers on new fixtures and adhesive left on surfaces take patience. Work slowly with a non-scratch tool and test any product on a hidden area first. Check the manufacturer's care instructions on new fixtures and surfaces before using anything strong.
In a professional post-construction clean with EEB, paint, sticker and adhesive removal is a separate add-on, along with heavy drywall dust removal and extra window residue.
Don't Forget the Air Side
Construction dust can load HVAC filters. It's worth having them checked and replaced as needed once the work is done, otherwise the system can keep spreading dust around a freshly cleaned space. EEB doesn't service HVAC systems, so plan that with your contractor or HVAC technician.
Protect Your New Surfaces
New finishes are easy to damage while cleaning. Fresh paint may need time to cure before you scrub it. New hardwood and stone can scratch if grit is dragged across them, which is why you vacuum before you mop. Glass cooktops, stainless appliances and new fixtures often come with care instructions, so keep the manuals handy. When in doubt, use the gentlest method first, a soft cloth and plain water, and only step up if it doesn't work. A few extra minutes here can save an expensive repair.
Expect a Second Pass
Even after a thorough clean, a little dust often settles over the next day or two. That's normal, especially in rooms where sanding happened. A light wipe-down of flat surfaces and a final vacuum a couple of days later usually takes care of it. For bigger projects, a touch-up clean after the final walkthrough handles anything on the punch list.
When to Call in Professionals
A small refresh can be a weekend job. A full gut renovation, or work done without much dust containment, is another story. That's when a heavy or detailed clean makes sense.
Signs it's time to bring in a crew:
- ✓You've wiped the same surfaces three times and the dust keeps coming back
- ✓There are multiple stories or areas you can't reach safely
- ✓You have a move-in, listing or handover deadline
- ✓Debris is more than a few bags
- ✓You'd rather spend the weekend settling in than scrubbing
EEB's post-construction cleaning covers construction dust on surfaces, ledges, trim and fixtures, windows, frames, sills and tracks, cabinet and drawer interiors when empty and in your quote, kitchen and bathroom fixtures, floors and light debris removal. Work is done across Nassau County, the Town of Babylon, the rest of Suffolk County and New York City.
After the Dust Settles
Once the space is clean, keep it that way with simple habits and the right products. Our guide to removing stubborn stains from your home is useful for marks that show up after move-in. If you'd rather skip the scrubbing, send your square footage, project stage and a few photos to book an after-renovation cleaning with EEB.

Discussion & Comments (0)
Leave a Comment
No comments yet
Be the first to share your thoughts or ask a question!